The other day I finally got to try an activity I’d seen online and always wanted to try. I needed a fun, easy activity for one of my self contained classes, and homemade gel window clings sounded perfect! They are really easy to make, and the kids had a blast.
Materials:
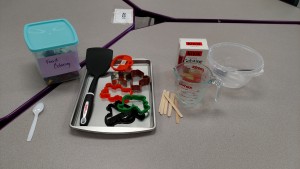
- Mixing bowl
- 4 Cups boiling water
- Gelatin (6-8 packets)
- Spoon
- Food coloring
- Popsicle sticks or toothpicks
- Cookie Pans
- Cookie cutters
- Spatula
- Glitter (optional)
Instructions:
- Boil the water. I have an electric kettle in the lab that I use for heating water. This step I do myself because I don’t want the kids to burn themselves.
- In the mixing bowl, dissolve the gelatin a pack at a time in the hot water with a spoon.
- Carefully pour the gelatin into the cookie pans about 1/2 inch deep and allow to cool for about 10-15 minutes.
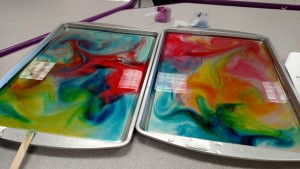
- Once it has cooled (but before it solidifies), have the students add drops of food coloring to the gel mixture and use the popsicle sticks or toothpicks to drag and swirl the colors around the pan.
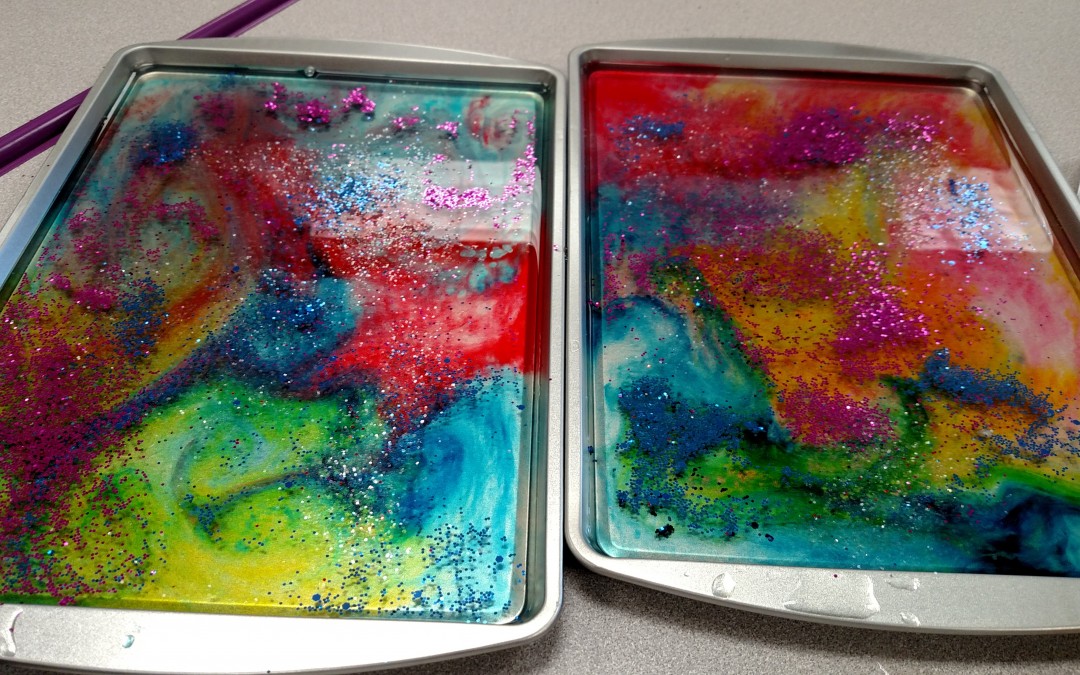
- If you want extra oomph, you can have them add different colored glitter as well. Of COURSE we added glitter!
- Allow the pans to cool completely for several hours or overnight.
- Once the gelatin has set, use the cookie cutters to cut out your gel cling shapes and use the spatula to remove them from the pan.
- Stick your beautiful works of art on your windows and enjoy.


