This weekend I joined the folks at Maker Depot for a lightsaber class. It was tons of fun, and resulted in an awesome looking prop lightsaber. They are fun and easy to make with just a few items. Here’s how!
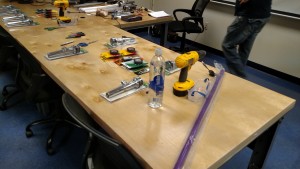
Materials:
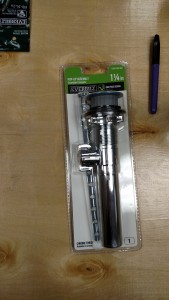
A sink drain from Lowes or Home Depot
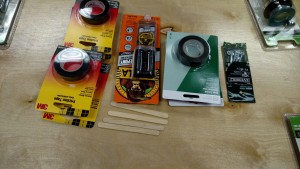
Friction tape, electrical tape, epoxy, screws, nuts, and washers
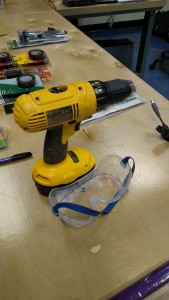
A drill and safety glasses
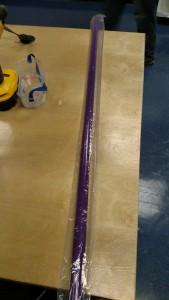
A blade! You can use 1/2 inch PVC, but it is more likely to shatter when hit. We used polycarbonate blades – mine came from the Custom Saber Shop because I needed to have purple!
Let’s Build It!
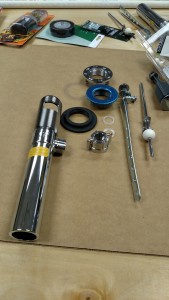
Disassemble the sink drain and separate out all the parts.
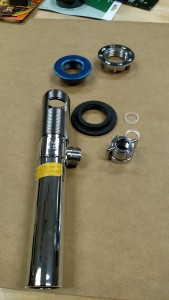
Keep these parts.
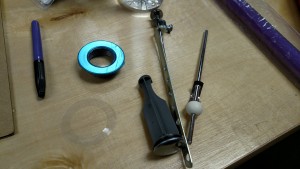
These parts can be discarded. The chrome ring is optional. I kept mine and added it to my hilt later.

Now we’re going to add friction tape to the end of the blade to make it fit snugly in the hilt.
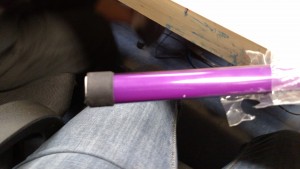
Wrap the tape around the base of the blade until it fits tightly inside the hilt (sink drain). The blade should fit snugly.
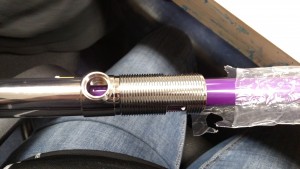
Your blade can either go all the way to the bottom of the hilt for added strength, or you can slide it down to just under the side opening if you plan to add light and sound modules in the hilt. Find the rectangular opening on the side of the hilt, and use a sharpie to mark the upper and lower edges of it on the blade.
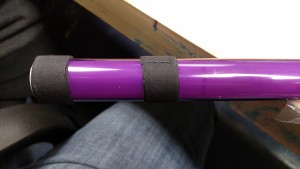
Wrap another layer of friction tape around the blade just below the lower line.
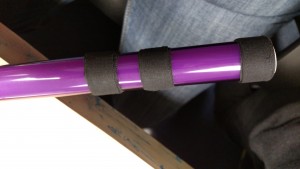
And one above the upper line. The blade should fit VERY snugly in the hilt.
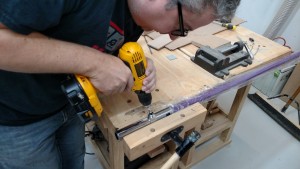
Next, take the drill and drill through both the blade AND the back side of the hilt through the circular opening on the side of the hilt.
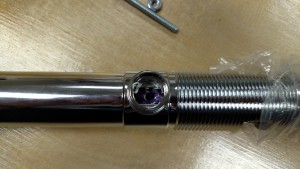
Now we’re going to add a screw, washer, and nut to hold the blade in place.
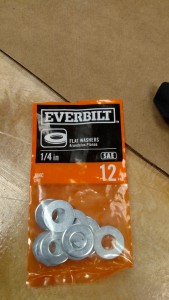
First, replace one of the clear plastic washers that you removed when you disassembled the drain. Then add a metal washer, slide the screw through, and bolt on with the nut on the back of the hilt. You can also use black sharpie to color the metal washer and make the screw look like a power button.
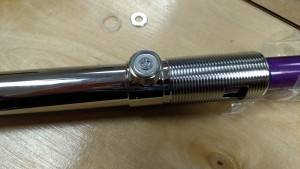
Front of saber hilt.
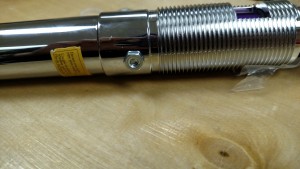
Back of saber hilt.
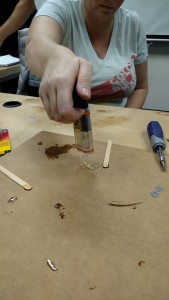
Now it’s time to attach the decorative end to the hilt. Squeeze out some epoxy.
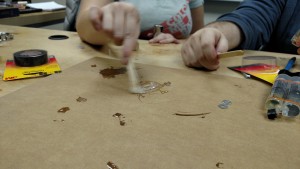
Mix well!
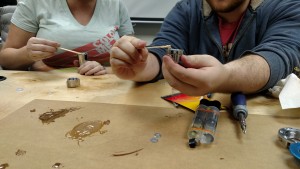
Apply to the end cap.
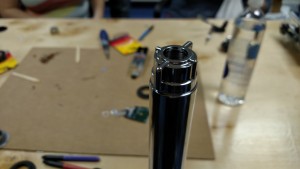
Attach the end cap to the base of the hilt and hold until the epoxy sets.
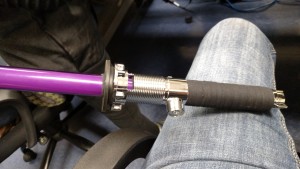
Finishing touches! Screw on the remaining pieces to complete your hilt. Put them in any order or position you want. Use the electrical tape and/or friction tape to create a grip on the hilt. You can also use colored electrical tape to create cool patterns or decorations on the grip.
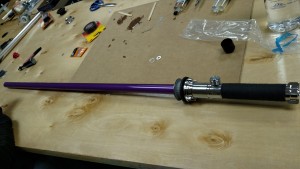
Congrats, your saber is done!

May The Force Be With You!


