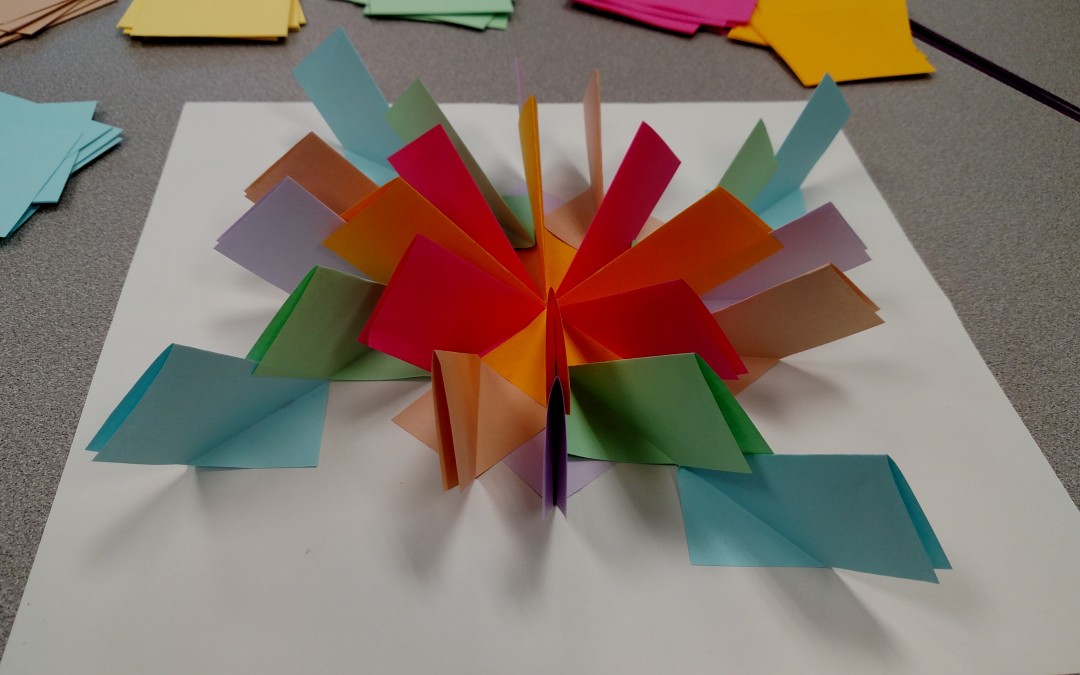
Looking for a fun and easy math art activity to start the year? This 3D symmetry project may be just what you need.
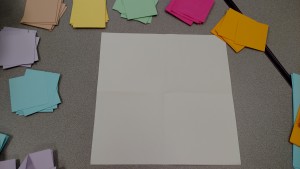 Materials:
- Colored paper cut into 3 inch squares (I used colored copy paper)
- 12×12 construction paper
- Glue stick
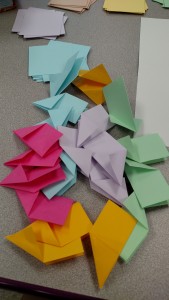
First, divide your construction paper into four quadrants. An easy way to do it is to fold it in half, and then in half again. When you open it, you should have four equal squares. Now, let’s start folding our paper ‘darts’. We’ll use the 3×3 paper for this.
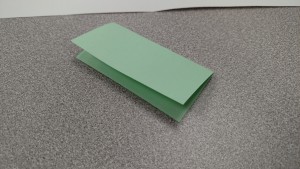
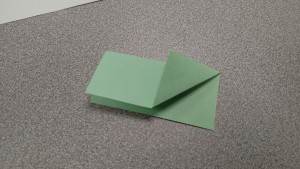
First, fold the paper in half.
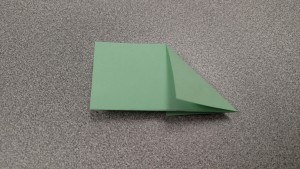
Next, fold one corner back to the first fold.
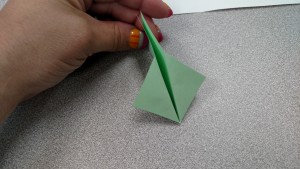
Flip it over and repeat on the other side.
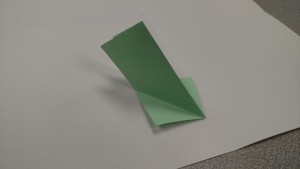
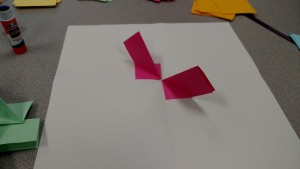
Your paper will now look a little bit like a paper airplane. The two folded corners will make a flat diamond shape, this is the end you will glue to the paper.
While you can fold and glue the darts one at a time, I find it easier to make a pile of darts first, then start glueing. Since we are working on symmetry, you’ll want at least 4 darts of each color.
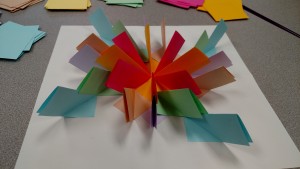
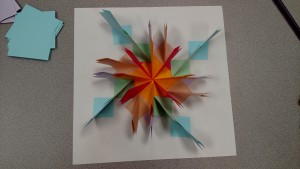
OK, time to assemble! Students start in the center of the paper and begin glueing down the darts with the glue stick. Remember that what you create in one quadrant must be repeated exactly in the other three to keep the symmetry.
There are many ways to combine your darts to make symmetrical shapes and patterns. When you are finished, compare how many different patterns your class created.



I LOVE this. Thanks so much for sharing!