A few weeks ago I introduced my two special needs classes to the wonders of polymers with homemade slime. We had a ton of fun with it, and one of the teachers requested that we next try making homemade bouncy balls. After some quick searching for a recipe and a run for supplies, we were ready to begin.
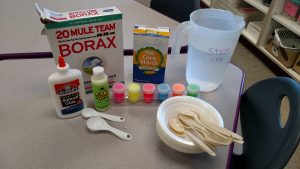
The cast of characters: Borax, Corn Starch, White Glue, water, glow in the dark paint, fluorescent paint, teaspoon, tablespoon, mixing bowls, spoons.
Step 1:
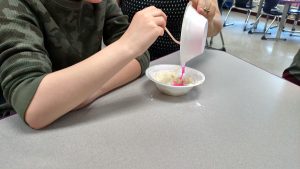
1/2 tsp Borax
4 Tbsp corn starch
4 Tbsp warm water
Combine these ingredients in a bowl and mix until well combined.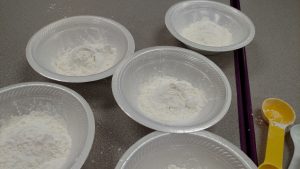
Step 2:
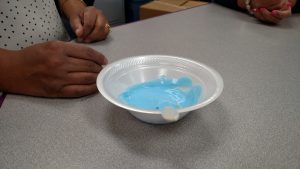
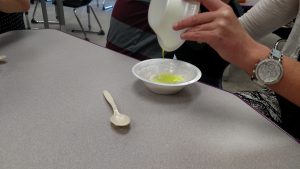
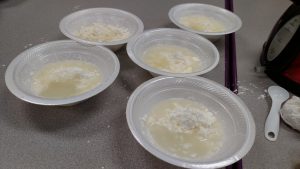
1 Tbsp white glue
1 Tsp paint (glow in the dark or fluorescent)
Combine these ingredients in a second bowl and stir until well mixed. 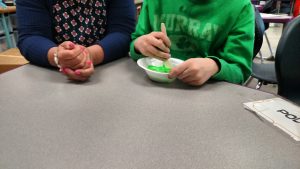
Step 3:
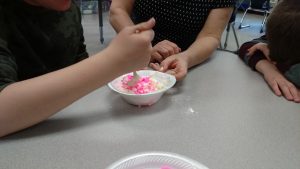
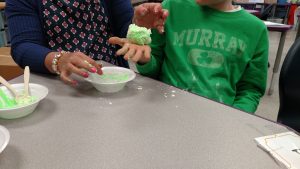
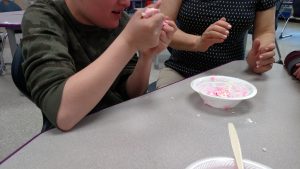
Combine the two bowls. Let the two mixes sit for a minute, then begin stirring. The mixture will become harder and rubbery. When this happens, take the mixture out and use your hands to knead it well. It should harden more and dry a bit as you knead.
Step 4:
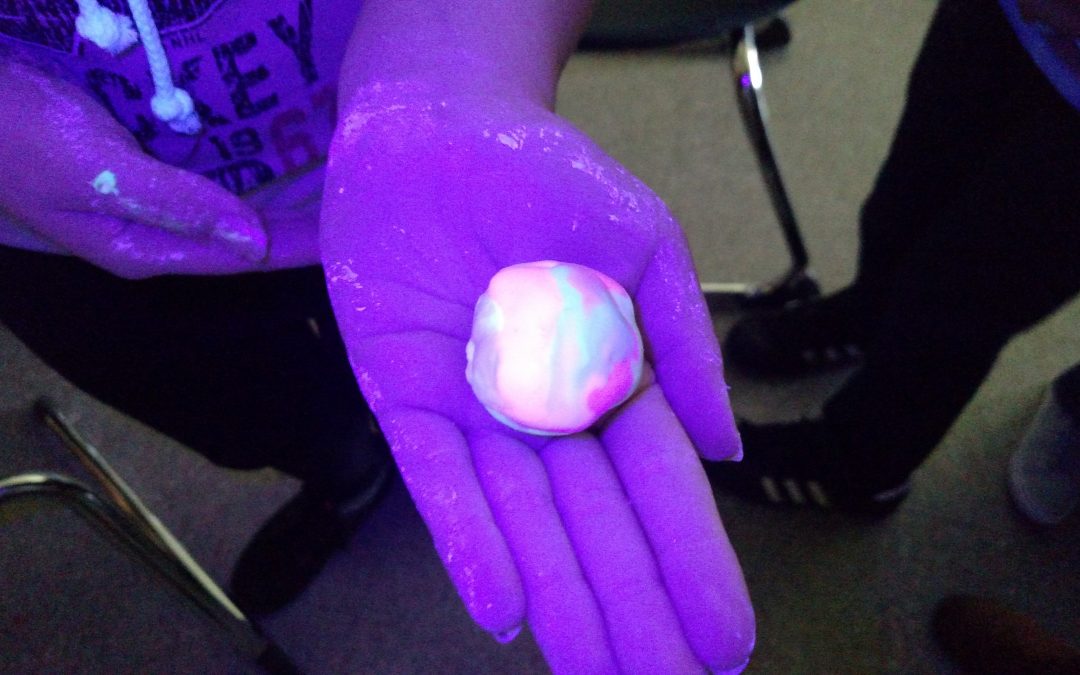
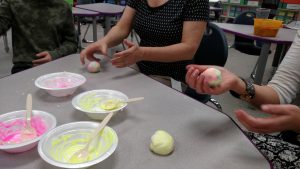
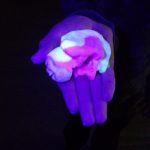
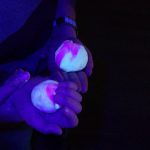
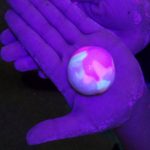
Once your material is kneaded, you can separate your blob into smaller pieces. We found that a simple pinch of material worked well. Combine multiple pinches together to create a rainbow swirl and mold into a ball shape.
Step 5:
Test your bouncy ball! To be honest, they did not bounce very well the first time around, it was more of a splat. We still had a ton of fun playing with them. I tried putting mine in a baggie in the fridge overnight, and it was a little more bouncy. Today we did the activity with my second class, and I adjusted to use a little less water. All but one batch turned out much dryer and more rubbery. We actually got some real bounces out of them. Fiddle with the ingredient amounts to find the right consistency.
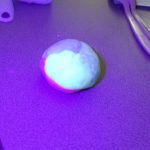
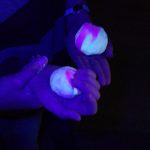
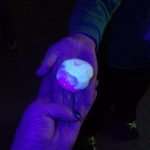
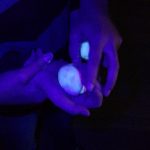
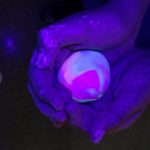
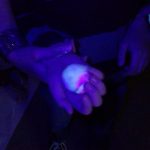
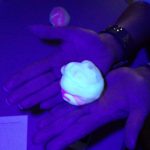
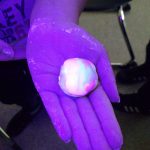
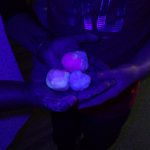
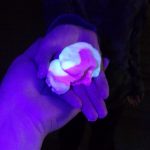
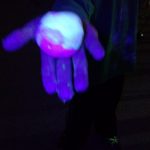
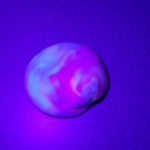
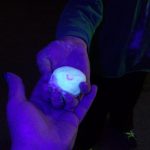
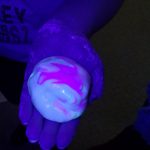
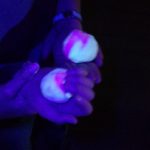
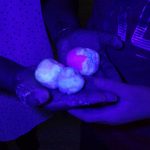
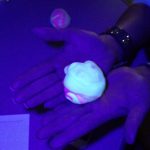
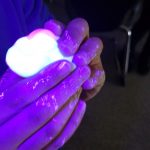
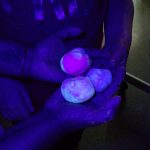
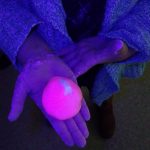
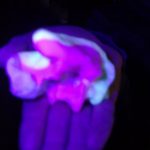
Want to have even more fun? Use a UV light or blacklight to make the bouncy balls glow! We turned off the lights and I used my new ReveaLED light for my phone to take some amazing glowing pictures.
Notes:
While these bouncy balls are relatively non-toxic, I don’t recommend letting students taste or eat them. (Yes, I’ve had kids try!)
You WILL make a mess. I ended up covered in cornstarch by the end of the project. Good thing the lab motto is If You’re Not Making A Mess, You’re Not Doing It Right!
Having sandwich baggies on hand make for easy storage and transport of the finished balls.

